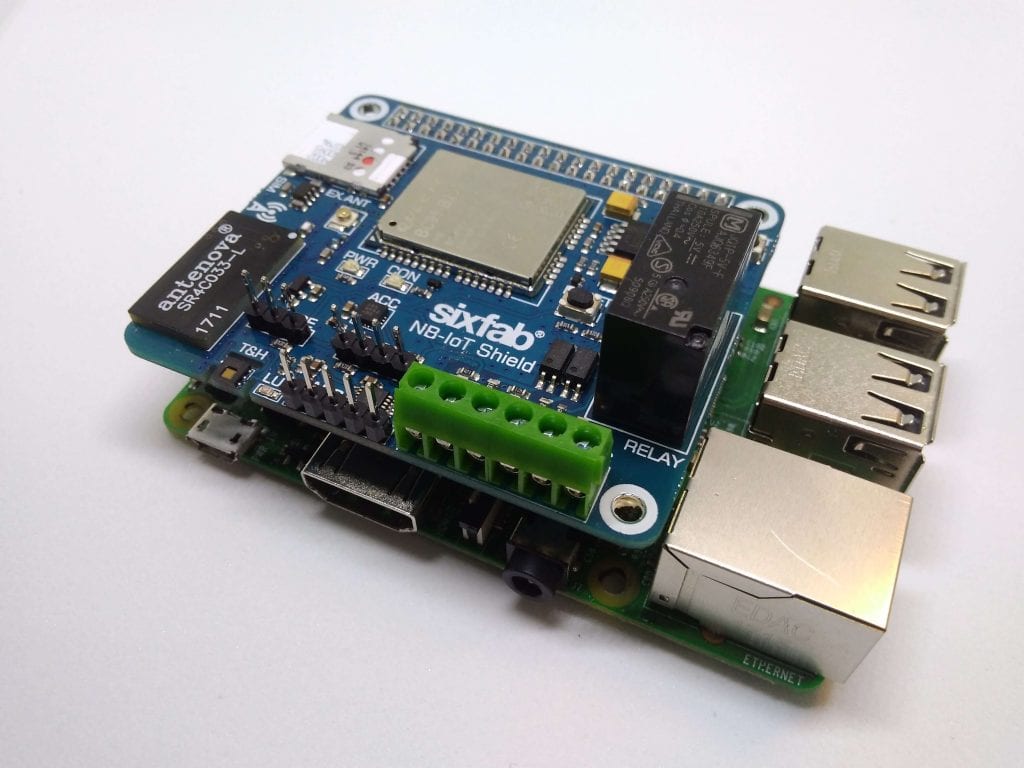


We are here again with our Sixfab Raspberry Pi NB-IoT Shield Tutorial. As mentioned in the product details that there are built-in Temperature, Humidity and Light sensors along with relay and USER led on the shield. So we will be showing you how to access all of them in this tutorial and sending the received data over local server. You can also try this with remote server.
We will refer you back to our first tutorial(Step1-13) on the same shield for some initial setup. If you already have followed the first tutorial then you may start by inserting SIM card to the shield and plugging the shield over your Raspberry Pi.

1. Clone sixfabNBiotTutorials repository to your Raspberry Pi by
git clone https://github.com/sixfab/RPI-NB-IoT-Shield.git
2. Get into the cloned directory
cd RPI-NB-IoT-Shield/examples
Here you can observe the script IntermediateTutorialNBIoT.py
Make sure you have SDL_Pi_HDC1000, Adafruit_ADS1x15 library to run this script.
2. Find the following line in the script
ip = “XX.XX.XX.XX”
port = “XXXX”
and replace XX.XX.XX.XX with your router’s ip and XXXX with your port number and save it.
3. Run the script by following commands
python IntermediateTutorialNBIoT.py

4. Once you run the script you can observe the relay turning on/off once and USER led blinks.
5. To listen the data that are being sent over the local server open another terminal and run the following command
netcat -ul -p5500
where 5500 is our port number, so make sure you change it with your own port number.

Hence you have successfully accessed all the data.