


Our previous tutorial was about observing data from the available sensors on the Sixfab R.Pi Cellular IoT Application Shield. Since our shield is capable of combined LTE technologies Cat.M1, Cat.NB1 (NB-IoT) and eGPRS we will be demonstrating transmitting data over UDP.
Before we start with the Raspberry Pi Cellular IoT Shield, we will need to make some setup for our router. The steps are as follows:
1. Login to you routers configurations, by going to 192.168.1.1(generally this is the address for router configurations, might change for some router) from your Internet browser and login with your own credentials.

2. Now scroll down at Basic Status page to find your IP address of your connection (which is mentioned as dsl_internet in our case). We will need it later.

3. Now click on Forwarding form the option list and then click Virtual Server.
4. Then click on Add New, which will take you to the following screen. Now fill up Service Port(as desired, in our case it is 5000), IP Address(It is IP Address of your Computer/Laptop. Check the note below if you don’t know how to obtain your IP Address) and select Protocol(as UDP). Click Save.

** Note: Open your terminal and run ifconfig command to obtain your IP Address. This is applicable for linux users. Windows user can type ipconfig in cmd command.
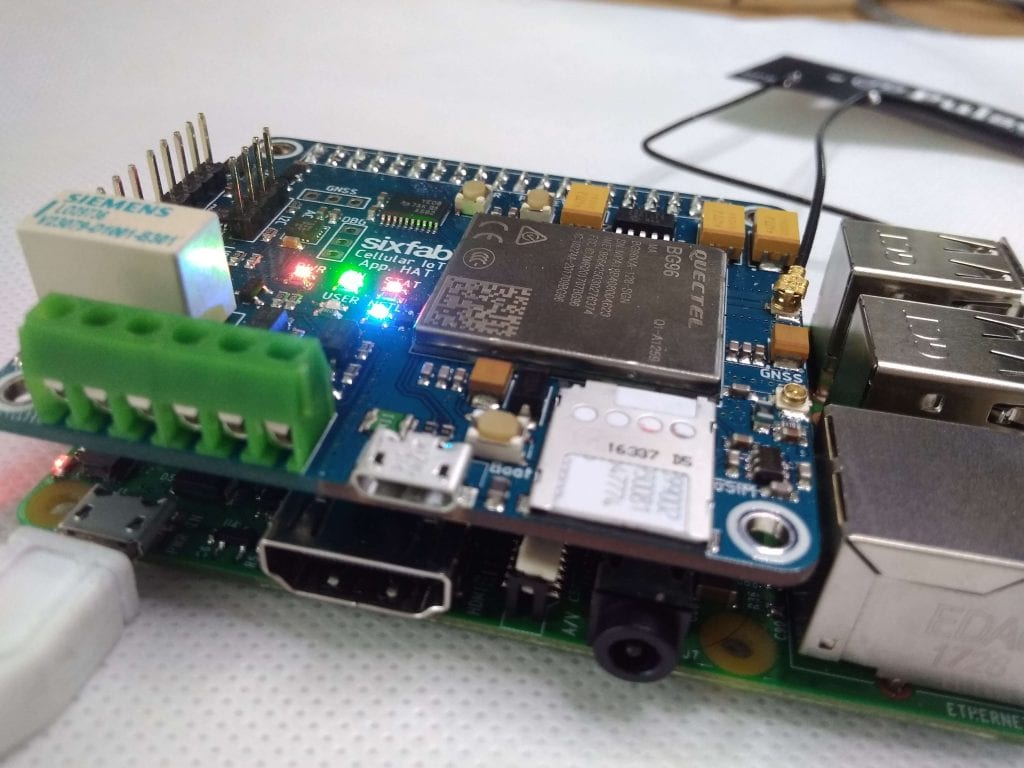
5. Now insert your SIM card to Sixfab Raspberry Pi Cellular IoT Application Shield and plug the antenna to LTE port.
 6. Now attach the Shield to your Raspberry Pi and turn ON your Raspberry Pi. Make sure your I2C and Serial interfaces are enabled from raspi-config.
7. Now clone our github Repo to your Raspberry Pi to install our library(If you have already done it, you may skip to step 10).
git clone https://github.com/sixfab/Sixfab_RPi_CellularIoT_Library.git

8. Once the repo is cloned get into the Sixfab_Rpi_CellularIoT_Library
cd Sixfab_Rpi_CellularIoT_Library

9. Now install the library by
sudo python3 setup.py install

The library is written with python3 so we will be writing and running every script in python3.
*** Alternate method of installing the library is using pip3. Simply run the following command.
sudo pip3 install sixfab-cellulariot
once after installation you will need the scripts from github repo.
10. Once it is installed you may get into sample directory where you will find examples for the shield.
cd sample

11. Here we will need basicUDP.py script for this tutorial. Before running the script, we will need to make some changes in the script. Type
nano basicUDP.py

12. Now find the following lines
your_ip = "xx.xx.xx.xx"
your_port = "xxxx"
and replace xx.xx.xx.xx with your Router’s IP and xxxx with your defined port. Then save the script with the changes.

13. Before you run the script, open a terminal to listen the data sent over UDP. Type the following command to listen the data. Here 5000 is my port address that I set at step 4.
netcat -ul -p5000

14. Once you have changed and saved your changes run the following command to run your script.
python3 basicUDP.py

15. Once you run the script you will be able to see the SEND OK at the end.

16. On the other terminal where you were listening to UDP data you will be able to see the received data as follows

In this way, you will be able to send data over UDP using your Sixfab R.Pi Cellular IoT Application Shield.