QMI Interface with Sixfab Shields/HATs

ensar • 1 Dec 2018
General
Raspberry Pi Base HAT Quectel Getting Started 5 scaled

Related Blog Post

Subscribe to our newsletter

To get rid of the legacy cruft, newer ways to present USB-connected LTE modems like QMI and MBIM have been developed. Quectel modules offer QMI(Qualcomm MSM Interface) which is established as a real network interface, such as ethernet(typically shows as wwan0). There is an open source Linux in-kernel driver supporting this interface called qmi_wwan

The QMI is also counted among the non-AT protocols which are communicated over /dev/cdc-wdm0 port. In order to establish a connection, proper qmi/gobinet proxy should be installed, which again depending on the chipset of the module/modem and the kernel of Linux, can get a bit complicated.

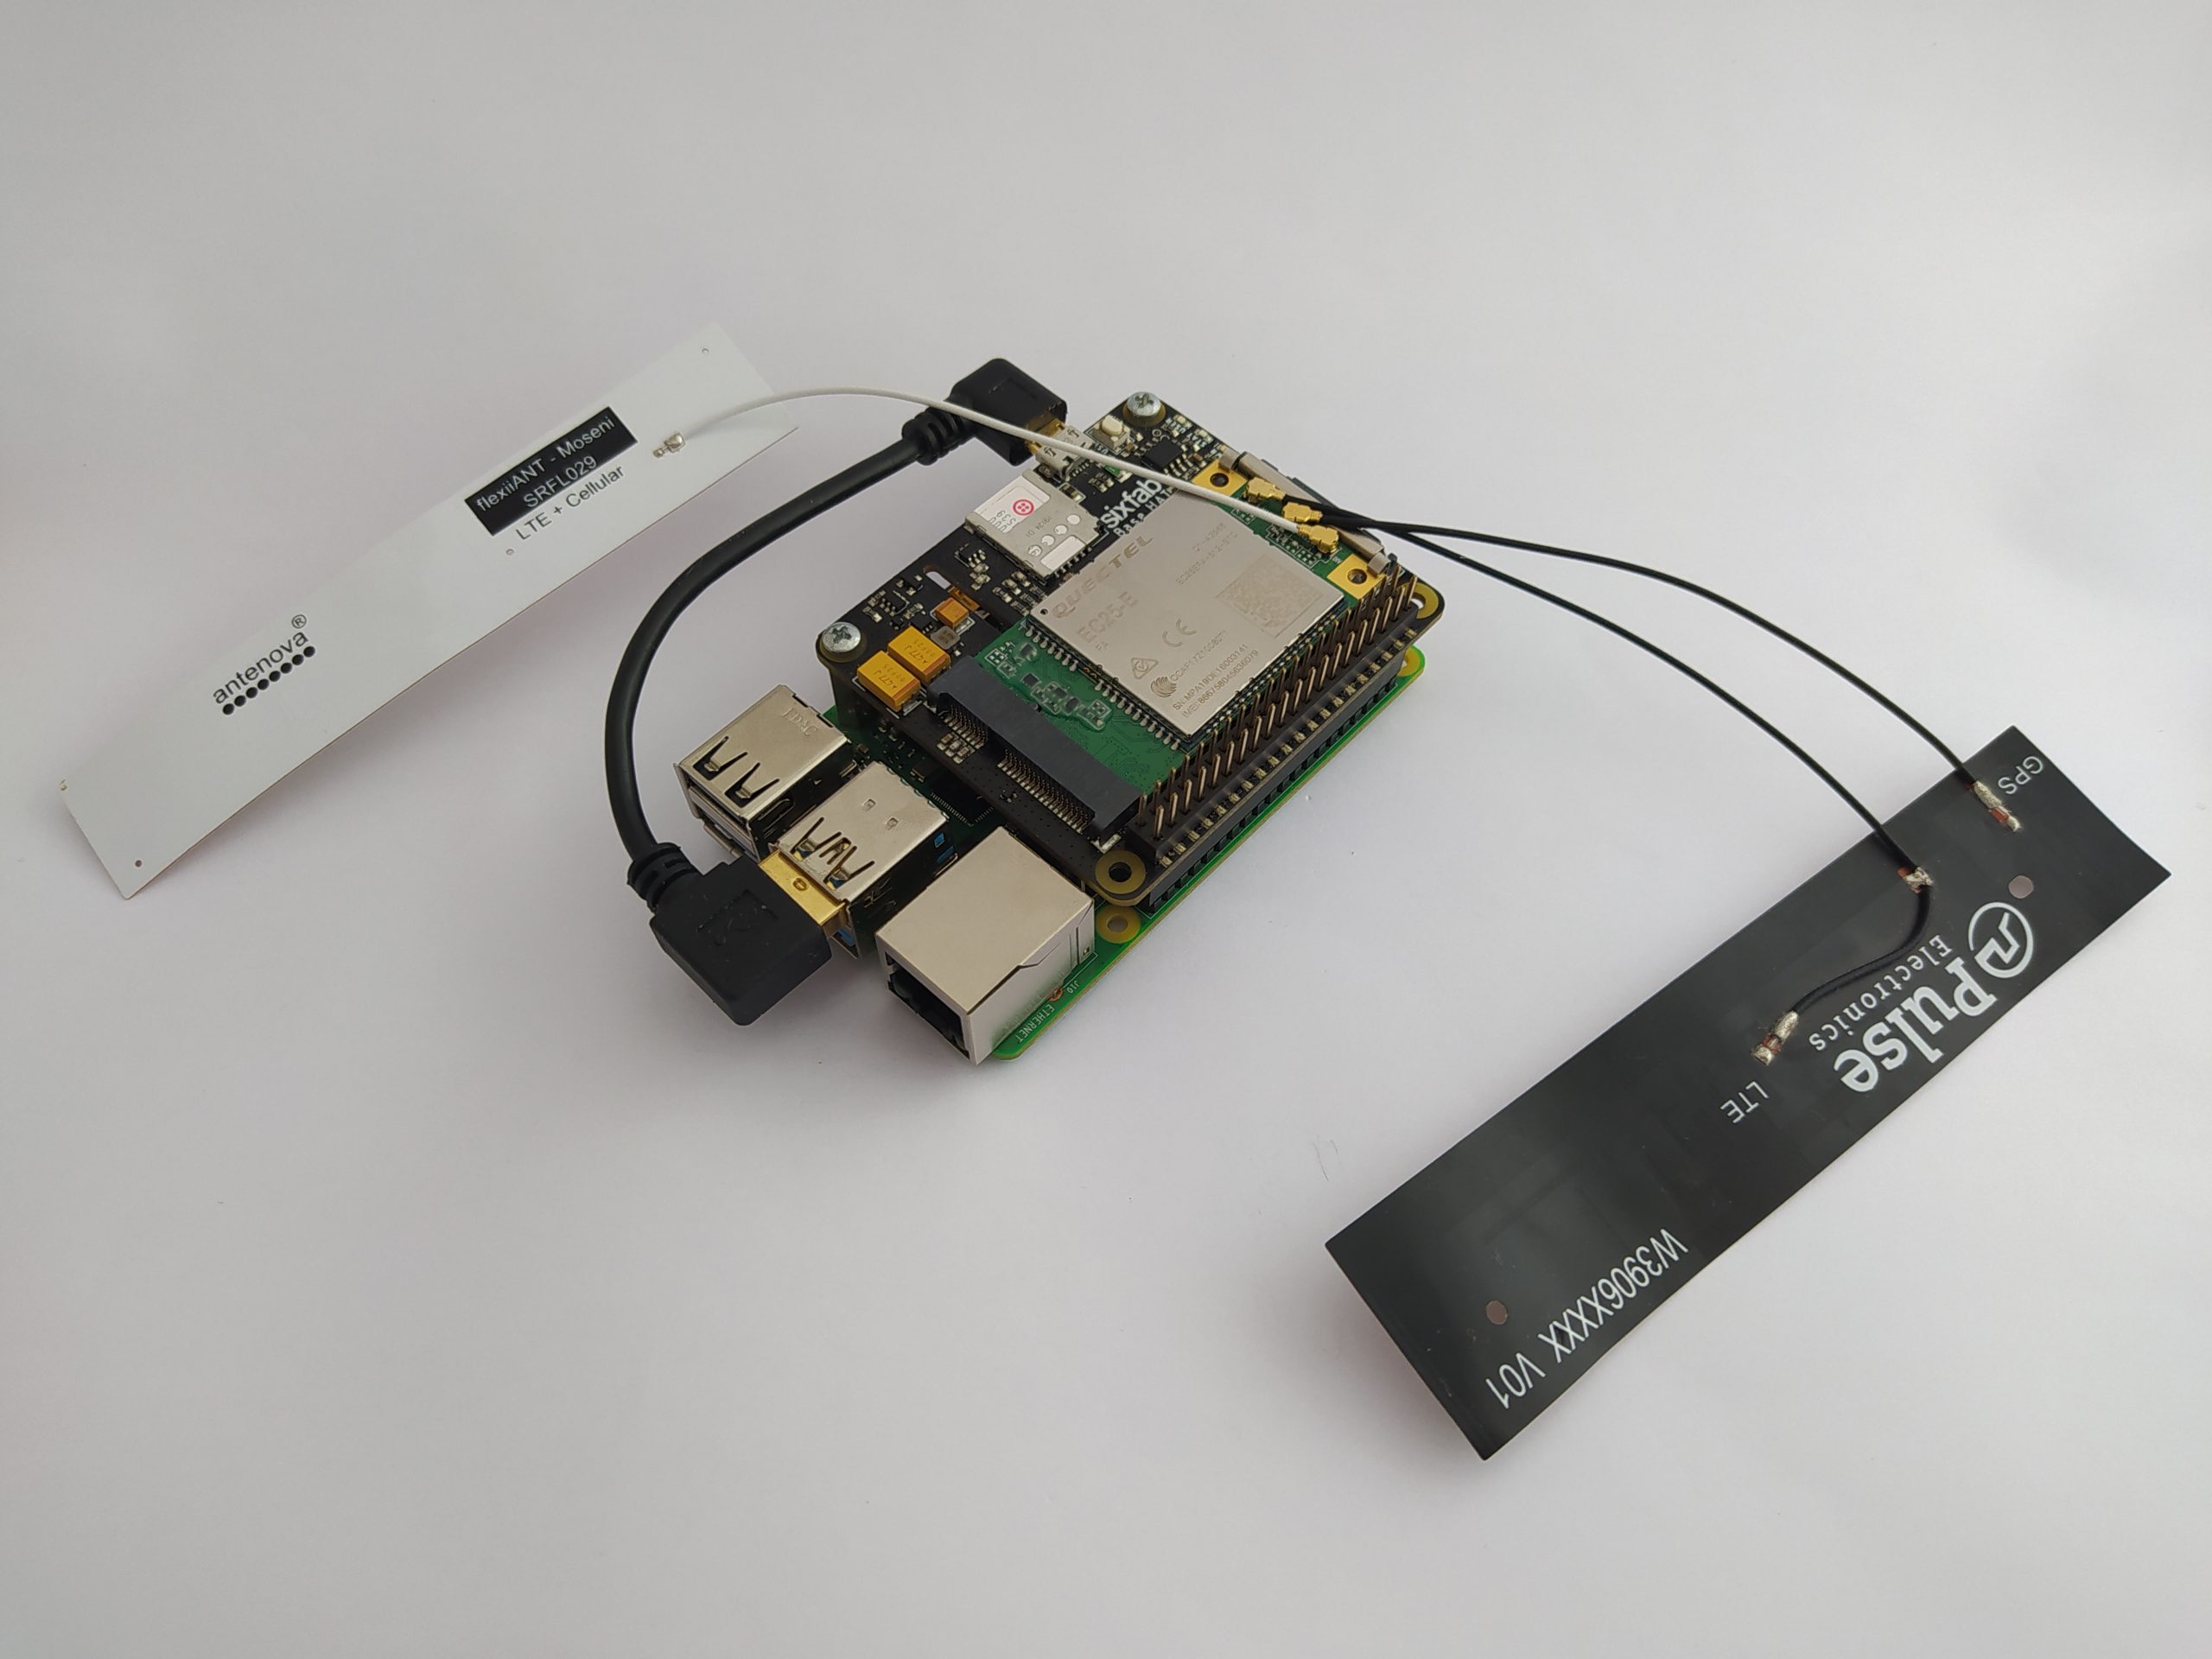
This tutorial is maintained in our documentation section.

https://docs.sixfab.com/page/qmi-interface-internet-connection-setup-using-sixfab-shield-hat

Hardware Setup

It is important to properly setup your hardware before you get started.


Warning: In this tutorial, the QMI interface was established using the connect manager program(quectel-CM tool) provided by Quectel. This tutorial will not work for modules from other OEM, it is only for Quectel.

Software Setup

1. Open a new terminal and run the update and upgrade command.

sudo apt update && sudo apt upgrade -y

Next, install the Raspberry Pi kernel headers needed for the QMI Interface.

sudo apt-get install raspberrypi-kernel-headers

Download the QMI installer file, and change the permission of the installation file. Then install it.

wget https://raw.githubusercontent.com/sixfab/Sixfab_RPi_3G-4G-LTE_Base_Shield/master/tutorials/QMI_tutorial/qmi_install.sh
sudo chmod +x qmi_install.sh
sudo ./qmi_install.sh
Note: Make sure the module is disconnected before running the installer script.
pi@raspberrypi:~ $ sudo ./qmi_install.sh Clean Old Files Change directory to /home/pi Downloading source files –2020-12-03 09:00:07– https://github.com/sixfab/Sixfab_RPi_3G-4G-LTE_Base_Shield/raw/master/tutorials/QMI_tutorial/src/quectel-CM.zip … Length: 148627 (145K) [application/zip] Saving to: ‘quectel-CM.zip’quectel-CM.zip 100 [================================================================>] 145.14K 947KB/s in 0.2s2020-12-03 09:00:08 (947 KB/s) – ‘quectel-CM.zip’ saved [148627/148627]Archive: quectel-CM.zip creating: /home/pi/files/quectel-CM/ inflating: /home/pi/files/quectel-CM/GobiNetCM.c inflating: /home/pi/files/quectel-CM/MPQCTL.h … … Unpacking udhcpc (1:1.30.1-4) … Setting up udhcpc (1:1.30.1-4) … Processing triggers for man-db (2.8.5-2) … Copying udhcpc default script Change directory to /home/pi/files/quectel-CM rm -rf quectel-CM *~ rm -rf quectel-qmi-proxy gcc -Wall -s quectel-qmi-proxy.c -o quectel-qmi-proxy -lpthread -ldl gcc -Wall -s QmiWwanCM.c GobiNetCM.c main.c MPQMUX.c QMIThread.c util.c qmap_bridge_mode.c mbim-cm.c device.c udhcpc.c -o quectel-CM -lpthread -ldl After reboot please follow commands mentioned below go to /home/pi/files/quectel-CM and run sudo ./quectel-CM -s [YOUR APN]
Press ENTER key to reboot

4. At the end of installation enter any key to reboot your Raspberry Pi. Attach the USB cable of the HAT.

5. Navigate to the Quectel files that were installed in the previous step.

cd files/quectel-CM

6. Now run the following command to connect to the Internet.

sudo ./quectel-CM -s <APN_NAME>
Note: ./quectel-CM is a non-ending command as long as the connection is up.
pi@raspberrypi:~/files/quectel-CM $ sudo ./quectel-CM -s <APN_NAME> [01-29_11:47:14:867] Quectel_QConnectManager_Linux_V1.6.0.12 [01-29_11:47:14:868] Find /sys/bus/usb/devices/1-1.1 idVendor=0x2c7c idProduct=0x125, bus=0x001, dev=0x007 [01-29_11:47:14:869] Auto find qmichannel = /dev/cdc-wdm0 [01-29_11:47:14:869] Auto find usbnet_adapter = wwan0 [01-29_11:47:14:869] netcard driver = qmi_wwan, driver version = 22-Aug-2005 [01-29_11:47:14:869] ioctl(0x89f3, qmap_settings) failed: Operation not supported, rc=-1 [01-29_11:47:14:870] Modem works in QMI mode [01-29_11:47:14:888] cdc_wdm_fd = 7 [01-29_11:47:14:986] Get clientWDS = 17 [01-29_11:47:15:018] Get clientDMS = 1 [01-29_11:47:15:050] Get clientNAS = 3 [01-29_11:47:15:082] Get clientUIM = 2 [01-29_11:47:15:115] Get clientWDA = 1 [01-29_11:47:15:147] requestBaseBandVersion EG25GGBR07A07M2G [01-29_11:47:15:274] requestGetSIMStatus SIMStatus: SIM_READY [01-29_11:47:15:274] requestSetProfile[1] super///0 [01-29_11:47:15:338] requestGetProfile[1] super///0 [01-29_11:47:15:371] requestRegistrationState2 MCC: 286, MNC: 3, PS: Attached, DataCap: LTE [01-29_11:47:15:401] requestQueryDataCall IPv4ConnectionStatus: DISCONNECTED [01-29_11:47:15:402] ifconfig wwan0 down [01-29_11:47:15:418] ifconfig wwan0 0.0.0.0 [01-29_11:47:15:467] requestSetupDataCall WdsConnectionIPv4Handle: 0x872eaae0 [01-29_11:47:15:595] change mtu 1500 -> 1360 [01-29_11:47:15:596] ifconfig wwan0 up [01-29_11:47:15:609] busybox udhcpc -f -n -q -t 5 -i wwan0 udhcpc: started, v1.30.1 No resolv.conf for interface wwan0.udhcpc udhcpc: sending discover udhcpc: sending discover udhcpc: no lease, failing [01-29_11:47:31:235] ifconfig wwan0 down [01-29_11:47:31:247] echo Y > /sys/class/net/wwan0/qmi/raw_ip [01-29_11:47:31:248] ifconfig wwan0 up [01-29_11:47:31:260] busybox udhcpc -f -n -q -t 5 -i wwan0 udhcpc: started, v1.30.1 No resolv.conf for interface wwan0.udhcpc udhcpc: sending discover udhcpc: sending select for 100.65.213.248 udhcpc: lease of 100.65.213.248 obtained, lease time 7200 Too few arguments. Too few arguments.

📖 Command usage

./quectel-CM [-s [apn [user password auth]]] [-p pincode] [-f logfilename] -s [apn [user password auth]]

Set apn/user/password/auth get -p pincode from your network provider, verify sim card pin if sim card is locked -f log filename, save log message of this program to the file. quectel-CM will send QMI message to the module via QMI channel to setup data connection. Please refer to the following message to use quectel-CM:

Example 1: ./quectel-CM
Example 2: ./quectel-CM -s 3gnet
Example 3: ./quectel-CM -s 3gnet carl 1234 0 -p 1234 -f gobinet_log.txt

⚙️ Module Configuration

Before running the PPP/QMI make sure the module is configured to the right settings.
AT+QCFG=”usbnet” should return 0, otherwise,send AT+QCFG=”usbnet”,0 then reboot the module after 10 seconds AT+CFUN=1,1

For sending AT commands, you may check the Sending AT Commands tutorial.
pi@raspberrypi:~ $ ifconfig wwan0 wwan0: flags=4305<UP,POINTOPOINT,RUNNING,NOARP,MULTICAST> mtu 1360 inet 100.68.68.134 netmask 255.255.255.252 destination 100.68.68.134 inet6 fe80::8d13:6f5:cbb6:cb4 prefixlen 64 scopeid 0x20<link> unspec 00-00-00-00-00-00-00-00-00-00-00-00-00-00-00-00 txqueuelen 1000 (UNSPEC) RX packets 16 bytes 2216 (2.1 KiB) RX errors 0 dropped 0 overruns 0 frame 0 TX packets 55 bytes 7136 (6.9 KiB) TX errors 0 dropped 0 overruns 0 carrier 0 collisions 0
pi@raspberrypi:~ $ ping -I wwan0 -c 5 8.8.8.8 PING 8.8.8.8 (8.8.8.8) from 100.65.213.248 wwan0: 56(84) bytes of data. 64 bytes from 8.8.8.8: icmp_seq=1 ttl=110 time=222 ms 64 bytes from 8.8.8.8: icmp_seq=2 ttl=110 time=194 ms 64 bytes from 8.8.8.8: icmp_seq=3 ttl=110 time=193 ms 64 bytes from 8.8.8.8: icmp_seq=4 ttl=110 time=194 ms 64 bytes from 8.8.8.8: icmp_seq=5 ttl=110 time=195 ms— 8.8.8.8 ping statistics — 5 packets transmitted, 5 received, 0% packet loss, time 8ms rtt min/avg/max/mdev = 192.947/199.606/221.875/11.168 ms

Auto Connect on reboot

If you want your Raspberry Pi to automatically connect to the Internet via QMI interface then there is one more step you will need to follow.

1. Download the QMI auto connect installer file, and change the permission of the installation file. Then install it.

wget https://raw.githubusercontent.com/sixfab/Sixfab_RPi_3G-4G-LTE_Base_Shield/master/tutorials/QMI_tutorial/install_auto_connect.sh
sudo chmod +x install_auto_connect.sh
sudo ./install_auto_connect.sh

2. It will then ask for APN. Type in your APN and then press ENTER.

pi@raspberrypi:~ $ sudo ./install_auto_connect.sh What is the APN? <YOUR_APN> –2020-12-03 12:07:39– https://raw.githubusercontent.com/sixfab/Sixfab_RPi_3G-4G-LTE_Base_Shield/master/tutorials/QMI_tutorial/reconnect_service Resolving raw.githubusercontent.com … Saving to: ‘qmi_reconnect.service’qmi_reconnect.service 100%[=========================================================>] 264 –.-KB/s in 0s2020-12-03 12:07:39 (2.63 MB/s) – ‘qmi_reconnect.service’ saved [264/264] … Saving to: ‘qmi_reconnect.sh’qmi_reconnect.sh 100%[=========================================================>] 224 –.-KB/s in 0s2020-12-03 12:07:40 (1.32 MB/s) – ‘qmi_reconnect.sh’ saved [224/224]Created symlink /etc/systemd/system/multi-user.target.wants/qmi_reconnect.service → /etc/systemd/system/qmi_reconnect.service. DONE

3. The name of the service is qmi_reconnect. To check if the service is active you can type the following. If it is working fine then you will be able to see active(running) in green.

Uninstall

pi@raspberrypi:~ $ sudo systemctl status qmi_reconnect.service qmi_reconnect.service – QMI Auto Connection Loaded: loaded (/etc/systemd/system/qmi_reconnect.service; enabled; vendor preset: enabled) Active: active (running) since Fri 2021-01-29 12:15:25 GMT; 2min 4s ago Main PID: 2730 (sh) Tasks: 4 (limit: 3861) CGroup: /system.slice/qmi_reconnect.service ├─ 2730 /bin/sh /usr/src/qmi_reconnect.sh ├─13529 sudo ./quectel-CM -s super └─13530 ./quectel-CM -s super

If you are using auto-connect/reconnect service, stop the service and disable it.

sudo systemctl stop qmi_reconnect.service
sudo systemctl disable qmi_reconnect.service

Troubleshooting

We recommend going through the section on troubleshooting as it covers the more common issues with establishing and maintaining a network connection. Please check the troubleshooting of your shield/HAT.