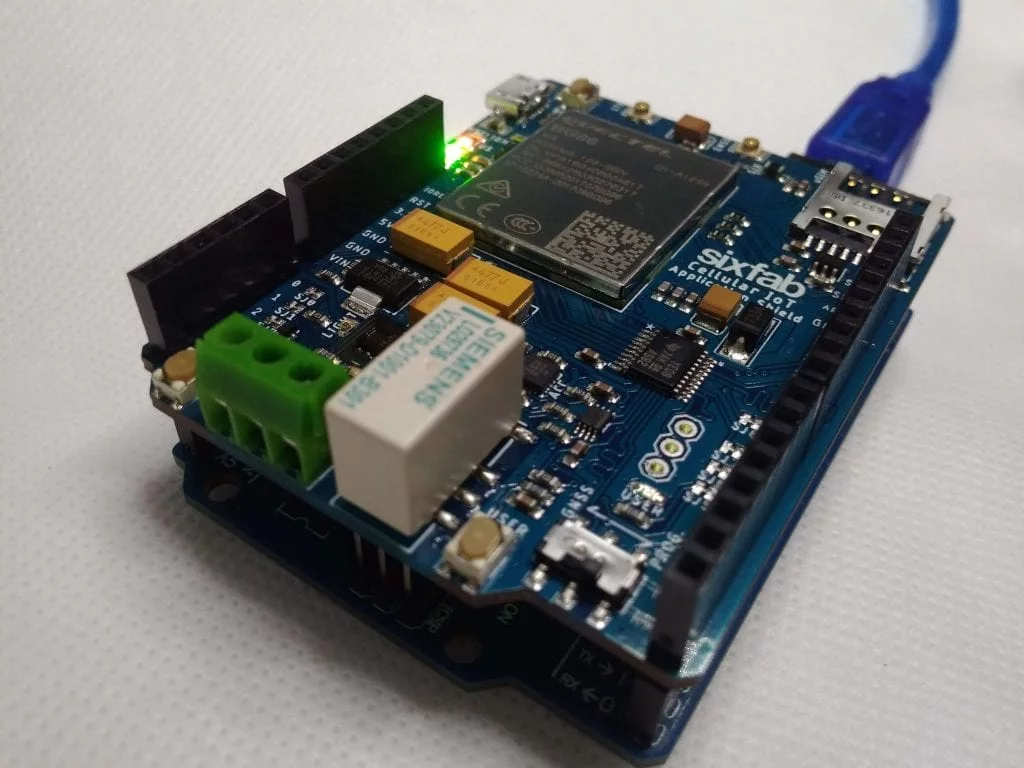


Sixfab has came up with Arduino Cellular IoT shield that have combined LTE technilogies Cat.M1, Cat.NB1(NB-IoT) and eGPRS, which is based on Quectel BG96 module. It also have built-it sensors, LED and relay. Sixfab also has a RPi Cellular IoT Application HAT.
Sixfab is also providing library to use the shield. To keep the it easy we will be showing how to install the library and access the sensor data in our first tutorial.
Lets start with setting up the library.
- Download Zip or clone the Library from our github repo. (Personally for Arduino I like to download zip)
For cloning you may type the following command in your terminal.git clone https://github.com/sixfab/Sixfab_Arduino_CellularIoT_Library.git
- Now open your Arduino IDE<IMAGE>

- To add the library, from top menu go to Sketch > Include Library > Add ZIP Library

- Find your location of downloaded library and select the zip file / folder in case of cloning. Then click OK

- Once you add the library, you will be able to find the available examples for your Cellular IoT Application Shield. Lets open our first example from File > Examples > Sixfab_CellularIoT > sensorTest
- This will open sensorTest.ino.
- Attach Sixfab Cellular IoT App. Shield to your Arduino(I am using Arduino Uno) and connect your Arduino to laptop/PC.

- Confirm wither the selected port is correct or not from Tools > Port

- Now open the Serial Monitor from Arduino IDE. Then you may observe the following output.


So, These were output from triple axis Accelerometer, Temperature, Humidity and Light sensors. Besides it turns on & off the USER LED and the Relay.